The Schader Family
|
|
|
|
 |
First a picture before opening the hood. |
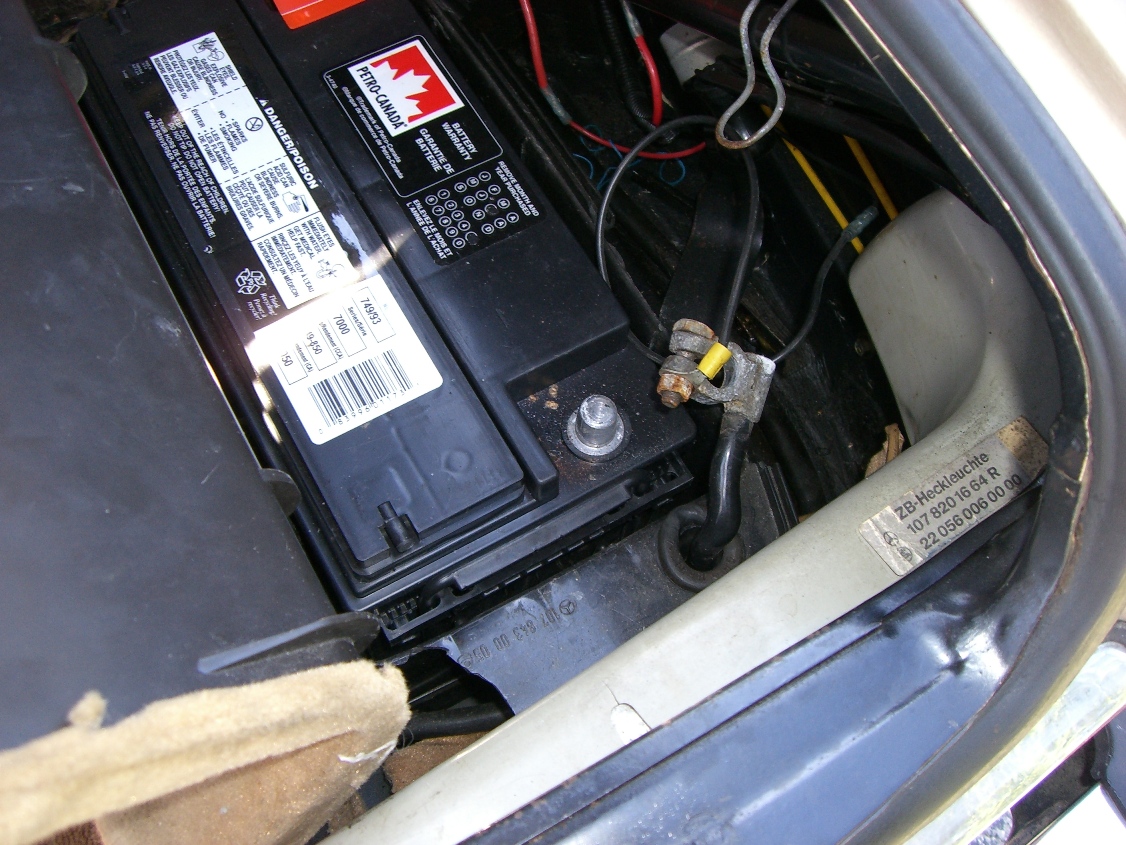 |
Disconnecting the battery is a good idea since the Alternator will be removed. |
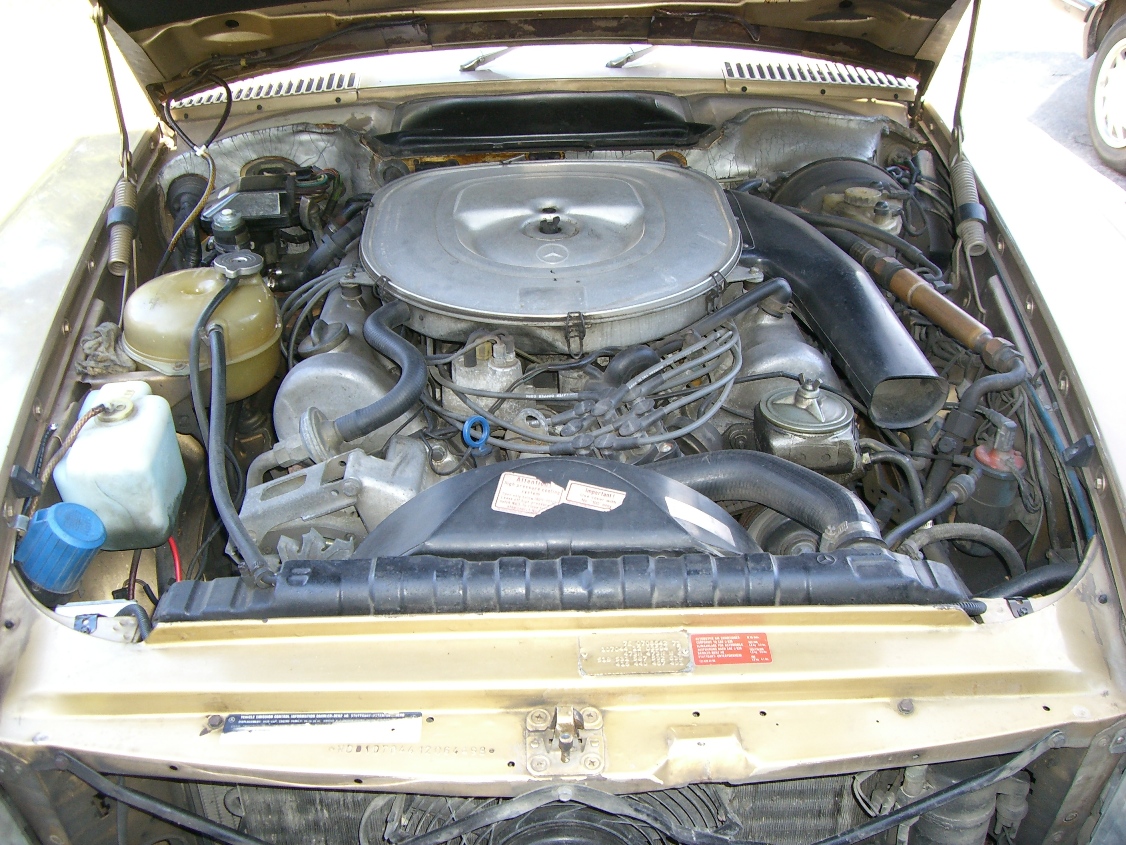 |
The hood is open and the job may begin. |
 |
The mechanic at work |
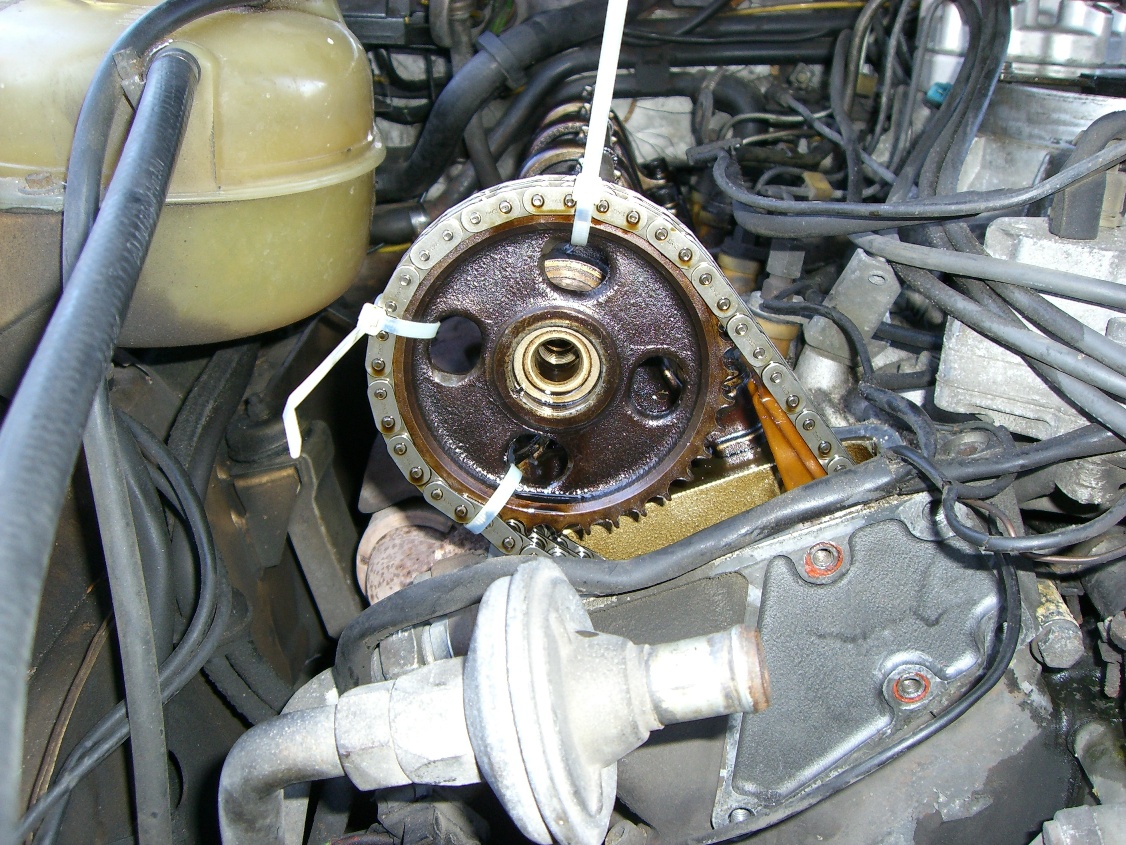 |
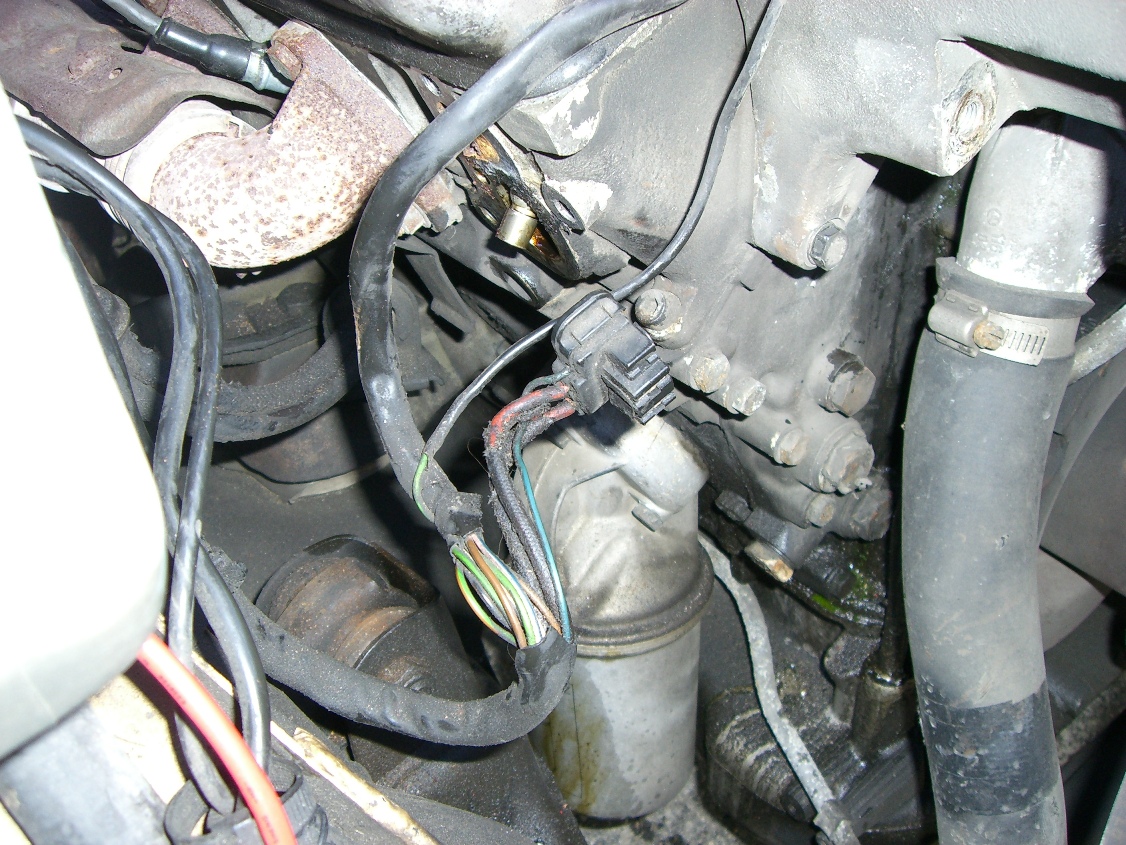
The timing chain is secured to the sprocket with cable ties preventing the chain from slipping and loosing it's timing. This picture shows the camshaft sprocket already removed. In order to loosen the chain, I opened the chain tensioner and removed the spring. |
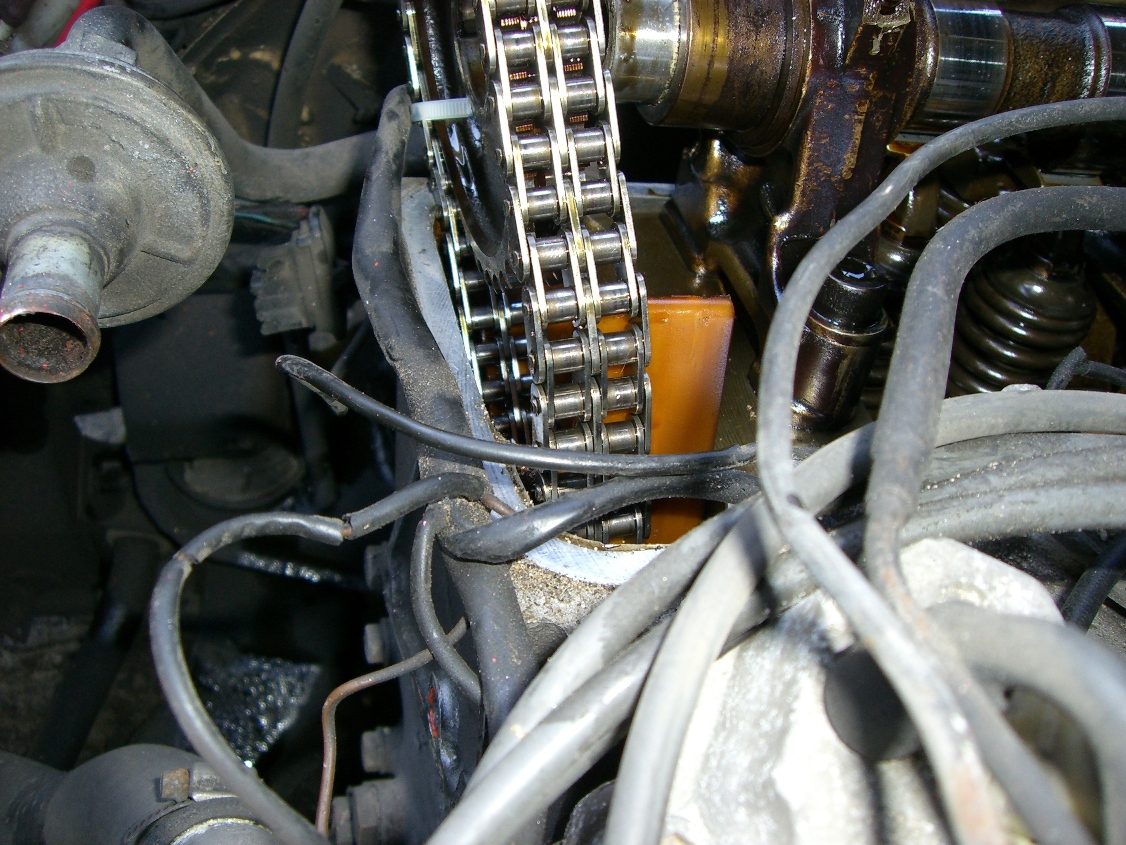 |
The chain and plastic guides must have been replaced
before I bought the car. There is no chain wear on the guide. So I
decided to proceed no further and put it all back together. The next day I took the car for a nice top-down drive BUT at engine idle speed there was an awful knocking sound. I had visions of loose connecting rod bearing and engine re-build. |
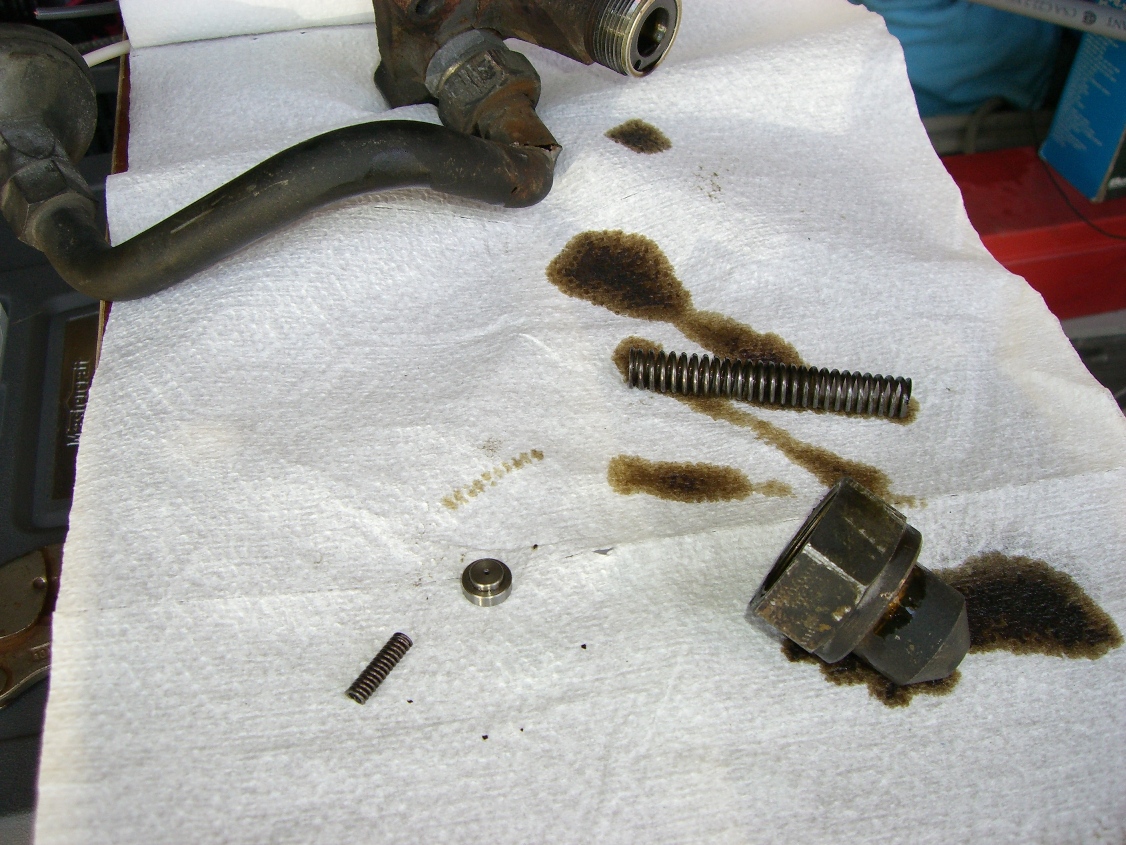 |
I found the small spring and small metal button
(piston) on the driveway the next morning. This explained it all. The
hydraulic tensioner without this small piston was bouncing resulting in
the slapping chain hitting the engine casing. I removed the tensioner and inserted the missing parts. It was difficult to re-install the tensioner because of the force of the spring. |
 |
The shiny nub is the tensioning rail that gets pushed
against the chain. After re-assembly, the engine was as relatively quiet as before. What a relief! Moral of the story: Don't take the tensioner apart. |
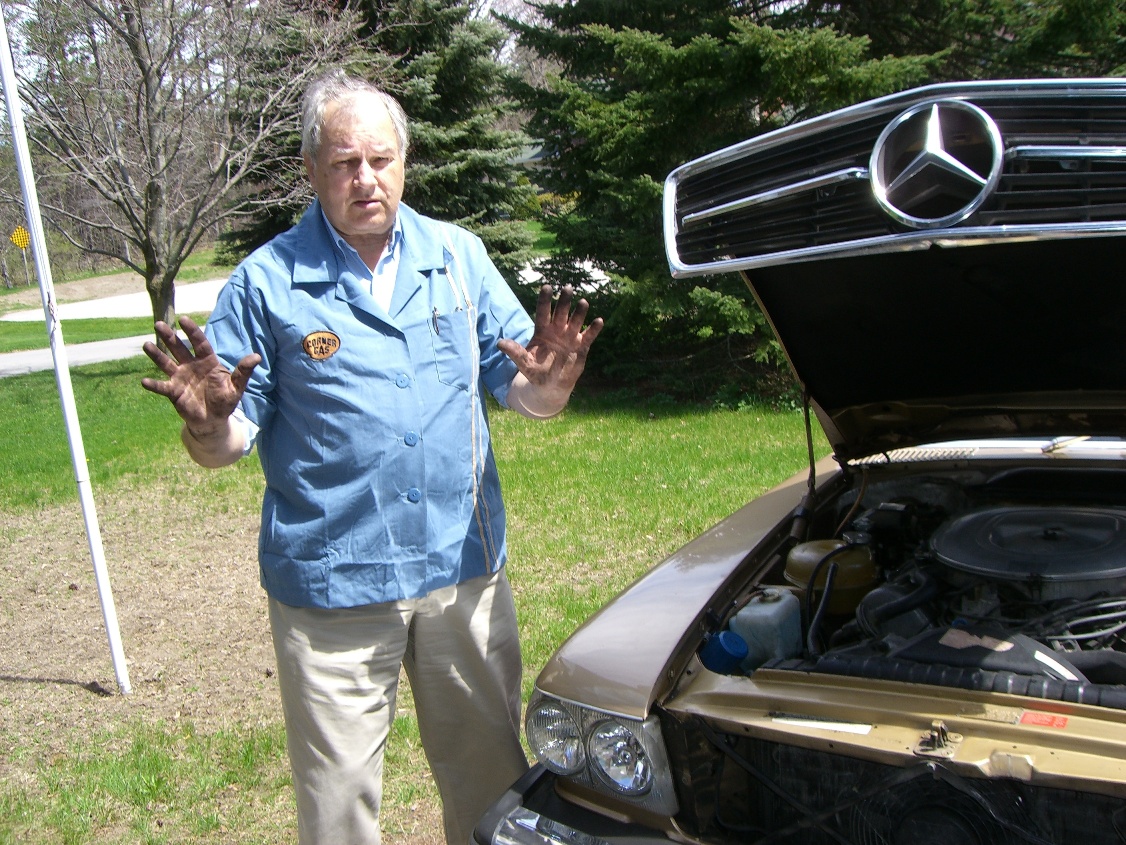 |
Dirty oily hands, the sign of a job well done! |
2007/05/06